Bleed settings on Amazon KDP
Whether you're self-publishing a book or creating marketing materials, mastering bleed settings is crucial for ensuring your designs look polished and seamless.
In this comprehensive guide, we'll delve into the intricacies of bleed settings, exploring what they are, why they matter, and how to leverage them effectively for top-notch prints.
What are Bleed Settings?
Bleed settings refer to the extra area of your design that extends beyond the final trim size of your printed piece.
This additional space ensures that when the pages are trimmed to their final size, there won't be any unwanted white edges or gaps along the edges of your design. Essentially, bleed gives your design room to "bleed" off the page, creating a seamless look from edge to edge.
Why Do Bleed Settings Matter?
Bleed settings play a critical role in achieving professional print results for several reasons:
Preventing White Edges:
Without bleed settings, there's a risk of white edges appearing along the trimmed edges of your printed piece, which can detract from the overall look and feel of your design.Ensuring Consistency:
Bleed settings help maintain consistency across multiple copies of your printed piece. By extending your design beyond the trim size, you ensure that each copy looks identical and professional.Professional Presentation:
In today's competitive publishing landscape, attention to detail matters. Proper bleed settings demonstrate professionalism and care in your print materials, leaving a lasting impression on your audience.
How to Set Bleed Settings:
Setting bleed settings for your print project is relatively straightforward, but it's essential to do it correctly to achieve optimal results. Here's a step-by-step guide:
Determine Your Printer's Requirements:
Different printers may have specific bleed requirements, so it's essential to check with your printer or print service provider before setting your bleed dimensions.Add Bleed to Your Design:
In design software like Adobe InDesign or Photoshop, you can typically set bleed dimensions when creating a new document or adjusting document settings. The standard bleed size is usually 0.125 inches (3mm) on all sides.Extend Your Design:
Once you've set your bleed dimensions, extend your design elements (such as images or backgrounds) beyond the trim size by the specified bleed amount.Export Your File:
When exporting your design for printing, be sure to include bleed in your final file. Most design software will have an option to include bleed when exporting.
Mastering bleed settings is essential for achieving professional print results in self-publishing and print design. By understanding what bleed settings are, why they matter, and how to set them correctly, you can ensure that your prints look polished, seamless, and impressive.
Whether you're creating a book cover, brochure, or flyer, proper bleed settings demonstrate professionalism and attention to detail, setting your prints apart from the rest. With this comprehensive guide, you're well-equipped to leverage bleed settings effectively and take your print projects to the next level.
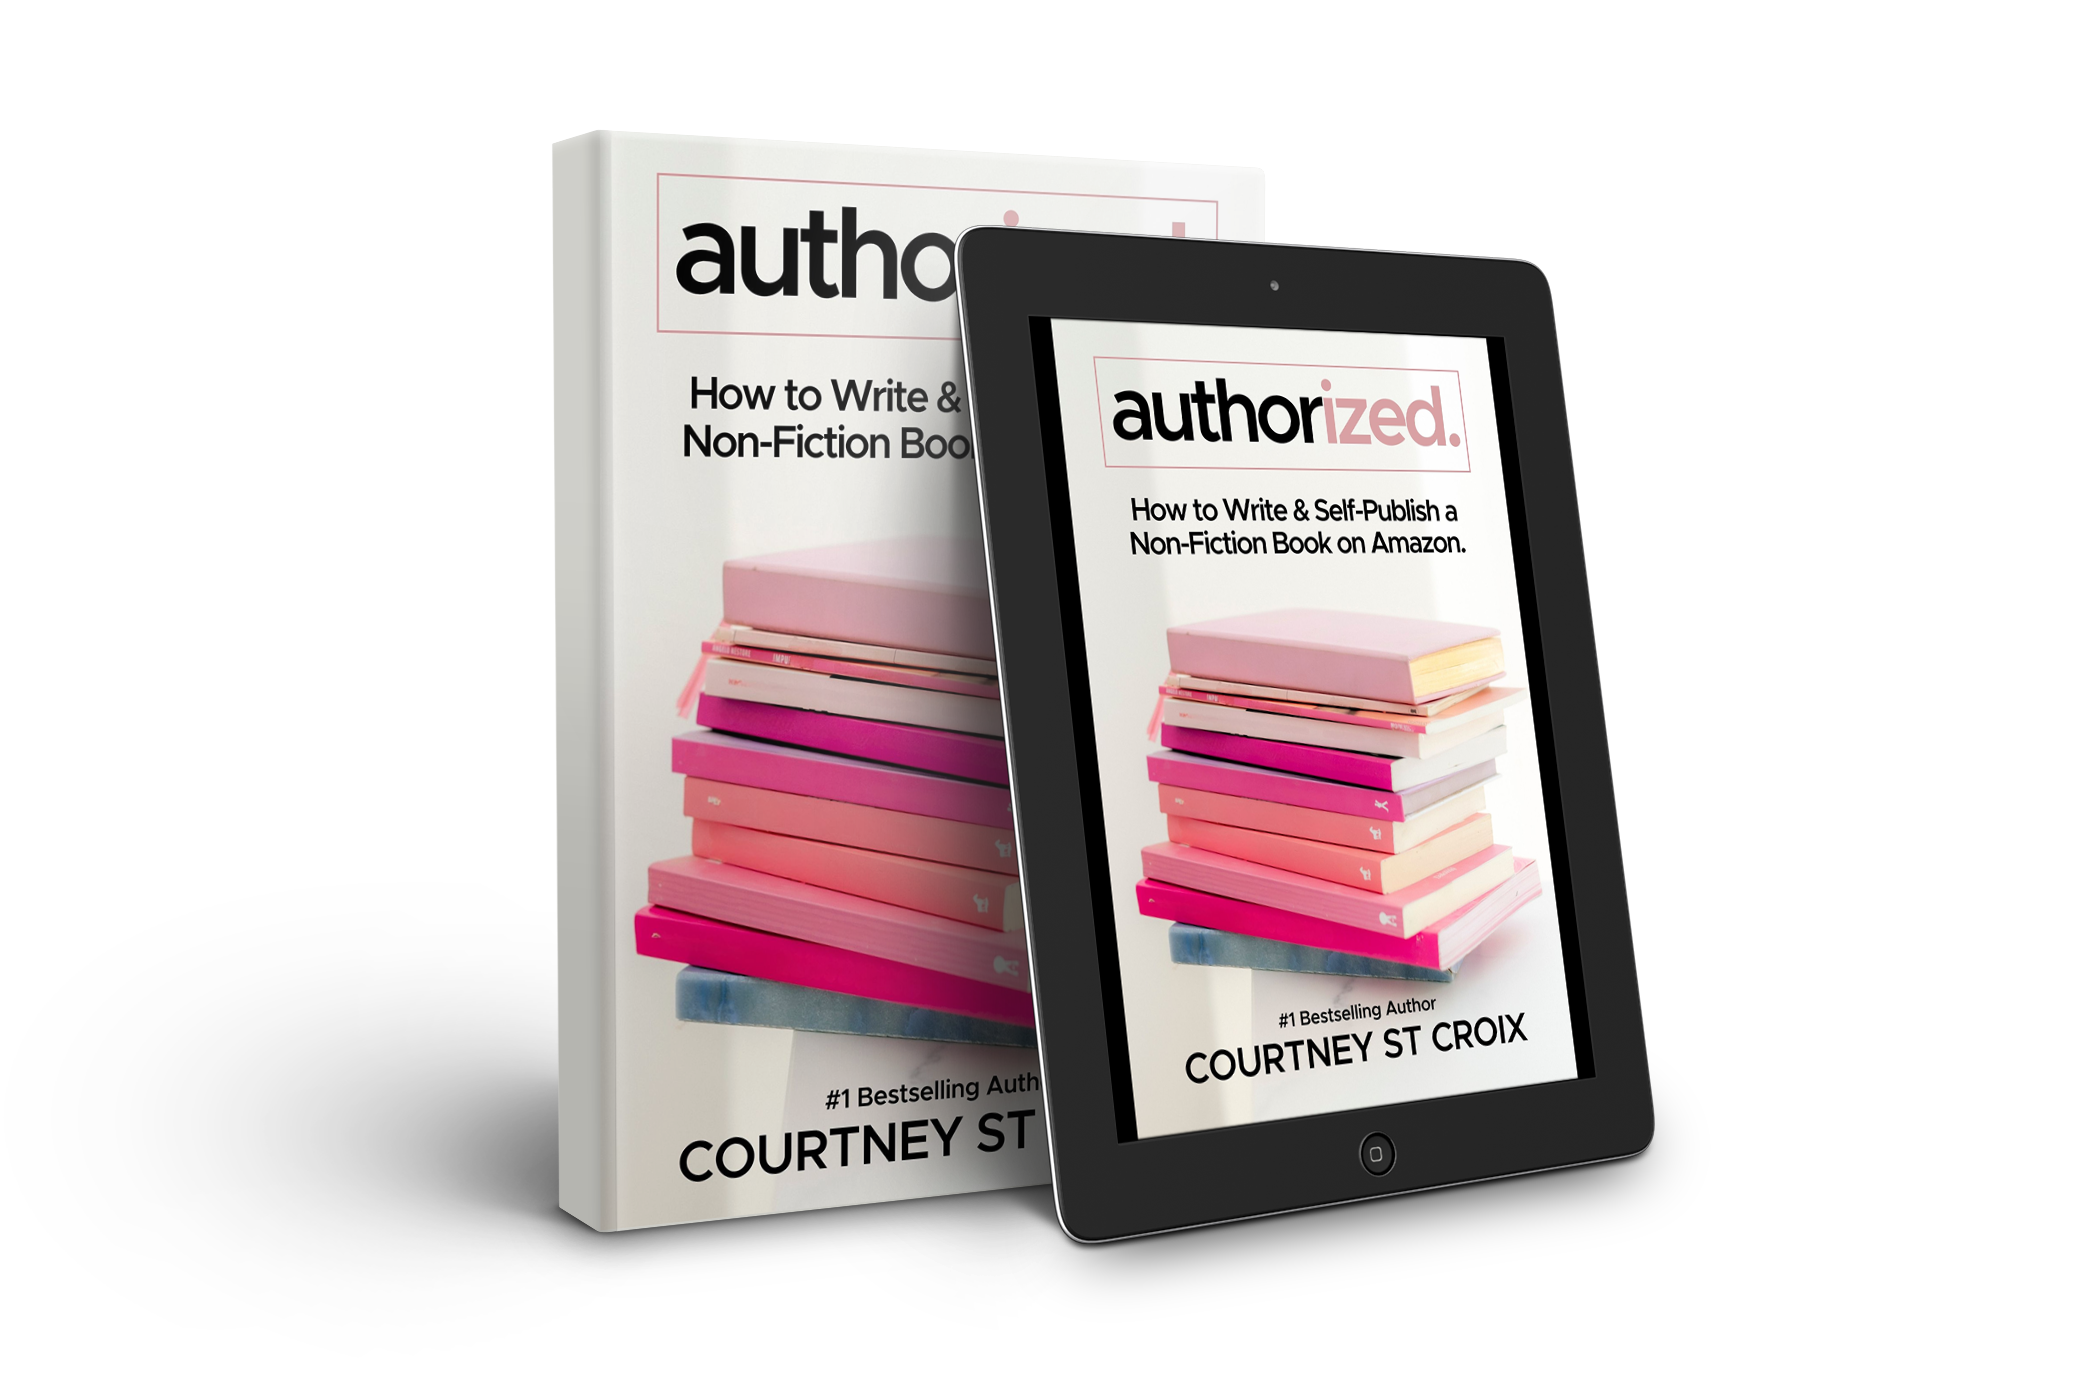
To learn more about self-publishing (and how to feel confident doing it!) grab a copy of AUTHORIZED: How to Write and Self-Publish a Non-Fiction Book on Amazon